File Prep

Set your files up properly and streamline production.
File Prep Package
> All PDF CWS Templates
> PSD Standard Size Template for your illustrator
> File Prep Checklist
> Setting Up Your Saddle-Stitch Page Count
> File Prep guide sheet and size comparison
> Understanding your bleeds and what not to do
> Why a physical proof helps
File Setup & Submission
Start with the correct template.
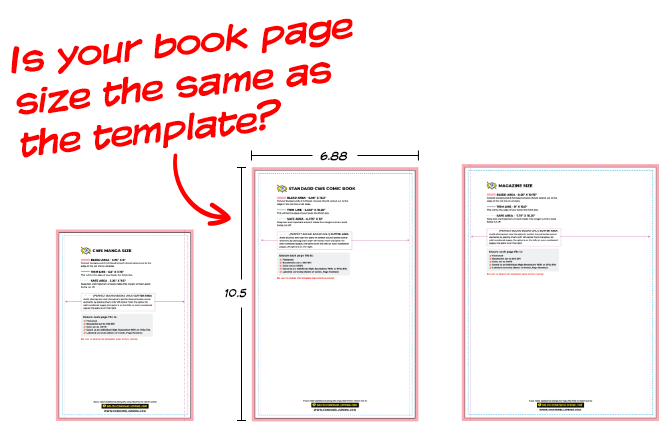
Properly setting up your files from the beginning can significantly speed up production turnaround time. It starts with your illustrator. Creators and publishers often make the mistake of allowing the initial illustrator to not use a template from the printer intended for the final book. This oversight can lead to critical artwork being cut off when the book is printed—that’s why you need to always review your proofs! We offer over 20 sizes to choose from, accommodating all creative publishing ventures. Moreover, we provide free PDF templates for every size. Download the appropriate template, share it with your artists, and streamline your production process.
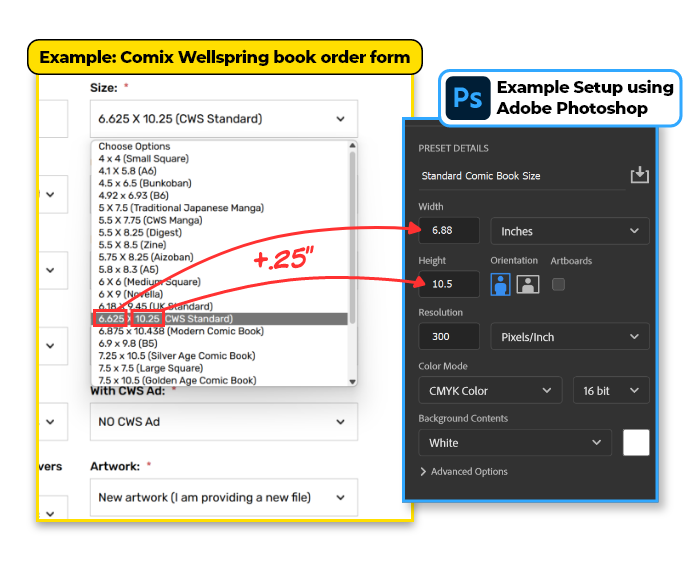
Size your pages according to your Order. But, dont forget to add bleed.
If you are not starting by opening a CWS template in your design software, then you must ensure to add 0.25" to both the height and width of your file. Chosen size + 0.25" = File submission size. Correct sizing speeds up the turnaround time.
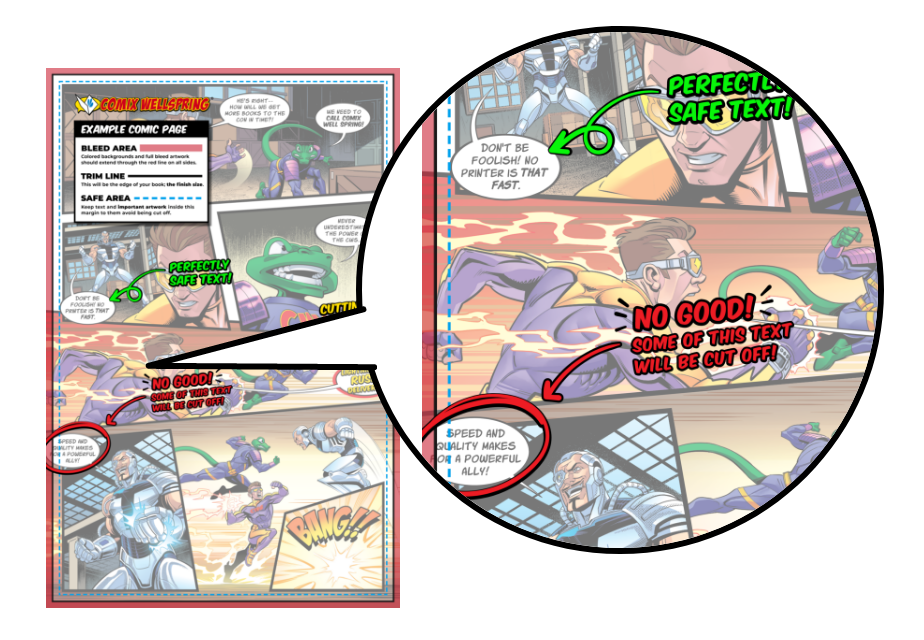
Understand your book's bleed area, trim line, and safe area.
Let’s keep it simple. If you want to print a 6" x 9" book, your page files should be 6.25" x 9.25". Your artwork should extend 0.125" past the trim size on all sides of the page. To play it safe, keep all crucial artwork and text 0.125" within the trim size. Using the Novella example, your safe area would be 5.75" x 8.75".
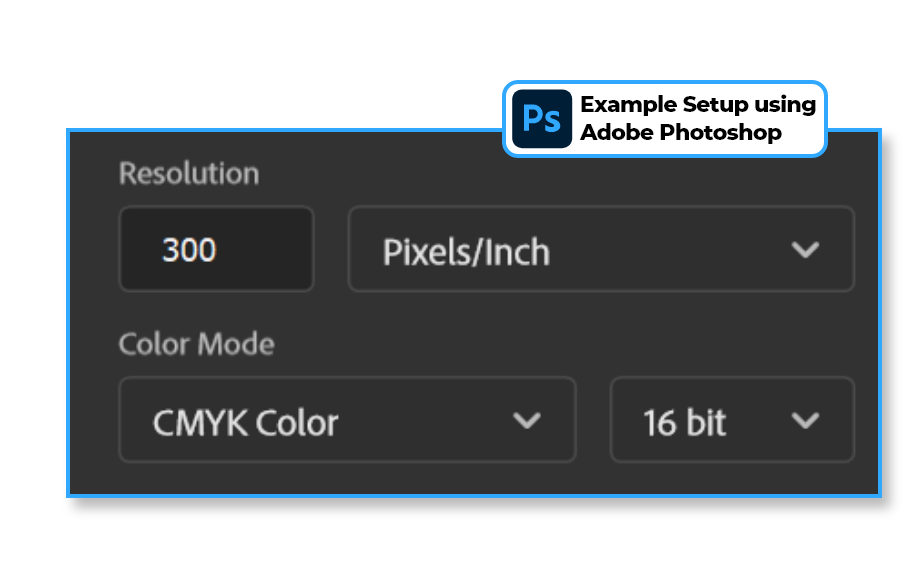
Export your files at 300 DPI resolution and CMYK color profile.
Ensure your files are exported at 300 DPI resolution and in the CMYK color profile. This will keep your lines crisp and your colors accurate for print.
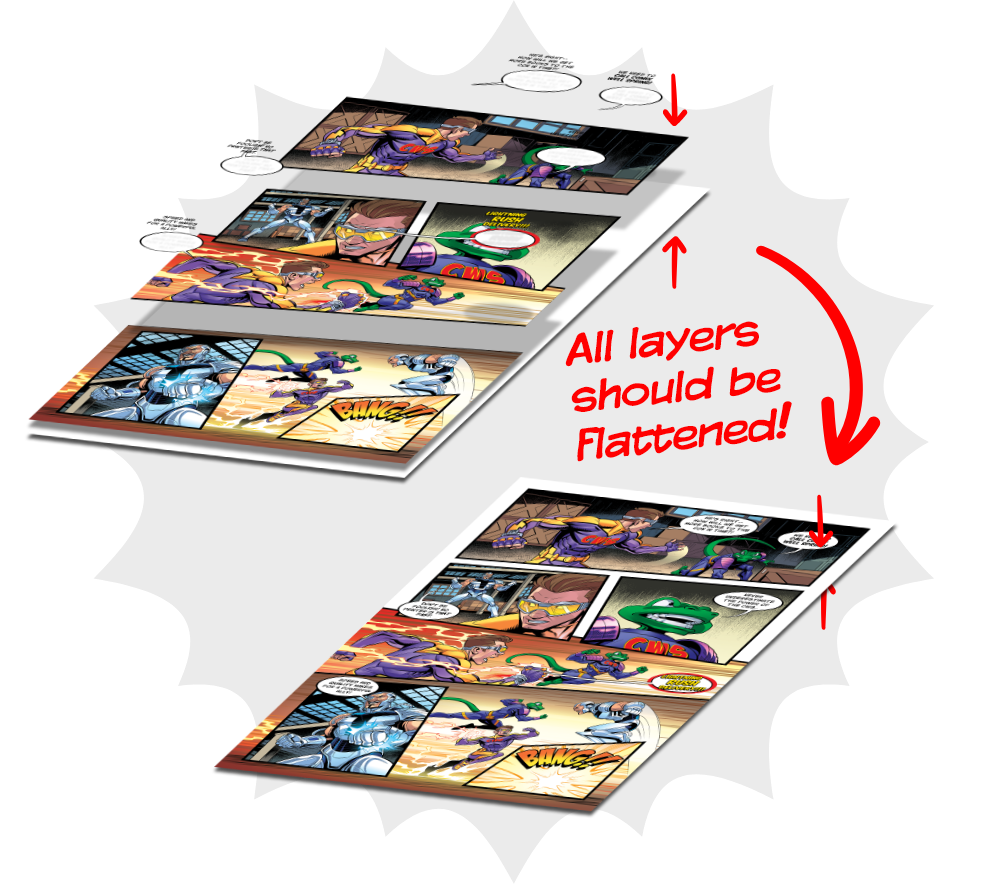
Flatten all of your files.
Information can be lost if not embedded. Avoid issues with layers by flattening your files. This ensures all elements are properly incorporated.
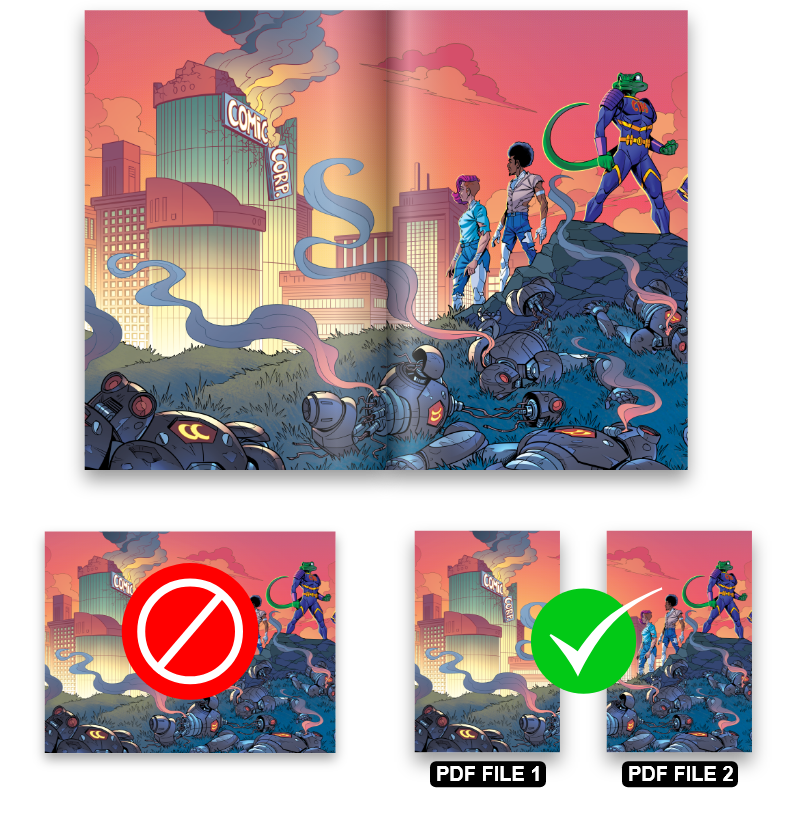
Separate double-page spreads and covers into single pages.
Ensure your double-page spreads start on even page numbers. Double-page spreads and covers should be submitted as single pages to maintain order and clarity during the printing process.
Label and share your individual files properly.
We currently accept PDFs and JPGs. PDFs can be submitted as single files or combined. If combined, ensure they are in the proper order from cover to back. High-quality files ensure the best print results.
If you are not submitting a combined PDF in proper order (from cover to back), then you need to:
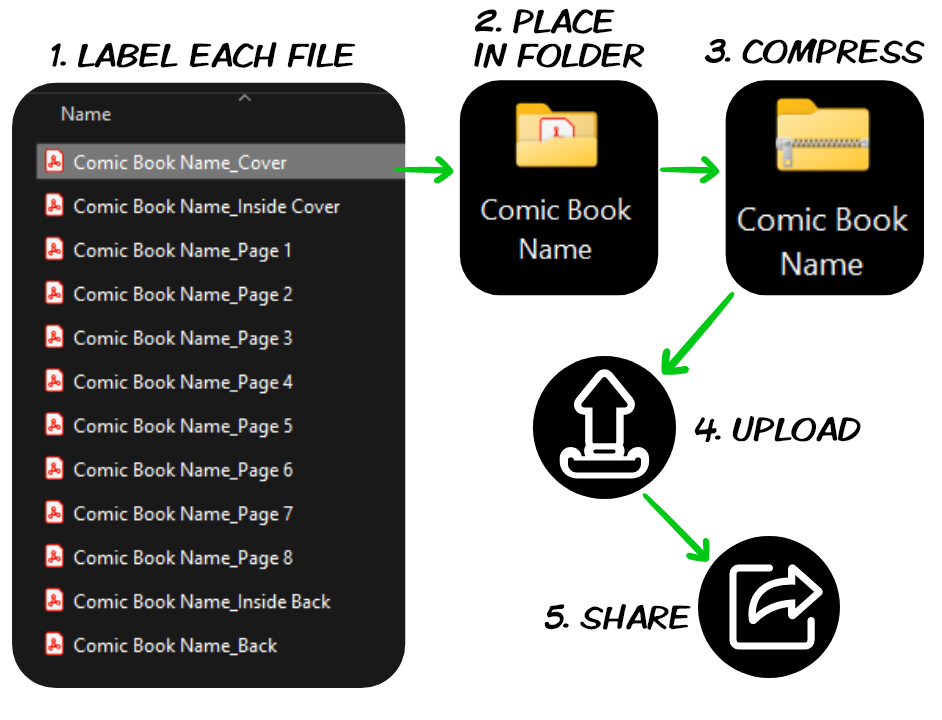
1. Label each single page PDF or JPG properly. We recommend (Comic Book Title_Page #).
2. Combine all files into one folder
3. Compress or Zip the folder if needed.
4. Upload it using a file transfer site such as Dropbox, WeTransfer, or Google Drive.
5. Share the link to your uploaded files. Be sure the link settings allow anyone with the link to view.
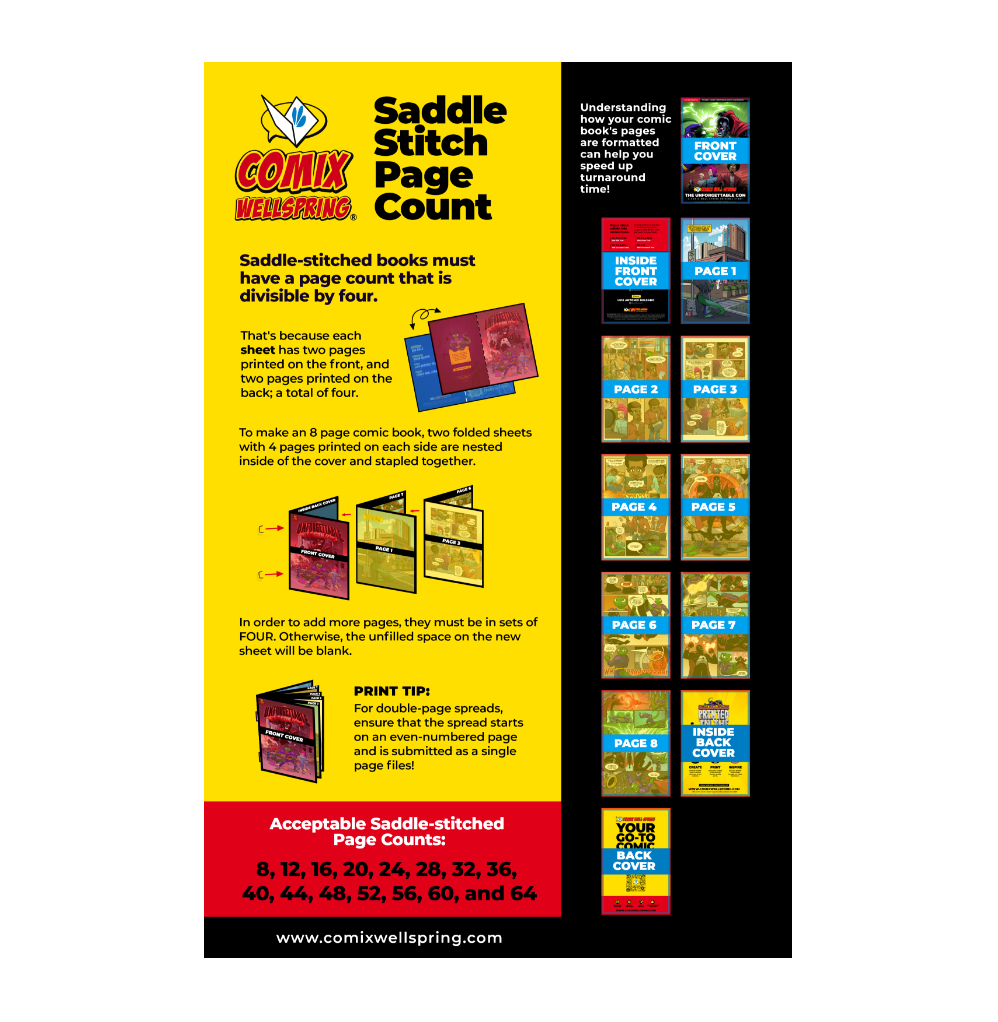
Ensure you have the correct page count.
Saddle-stitch comics should have a page count in multiples of 4, and perfect-bound books should have a page count in multiples of 2. This ensures the structural integrity and proper binding of your book.
Getting the spine width right on your perfect bound book can be tricky. But it doesn't have to be—with our Spine Width Calculator, simply enter your book's specs, and we'll deliver precise spine and cover measurements instantly, bleed included. It's bookbinding made easy.
Spine Width Calculator
Spine Width:
--YOUR FINAL COVER FILE DIMENSIONS
Note: these dimensions automatically account for our mandatory .25" inch bleed to the height and width.
Final Cover File Width (full spread):
--Final Cover File Height:
--Rep us in your book and save.
Place our advertisement in your book and receive a discount on your books. You'll just need to leave a full page open for our full page CWS ad.


